Featured

fashion.beauty.lifestyle

Beauty begins the moment you decide to be yourself”
― Coco Chanel

Hey all!
I’m all new to blogging, so bare with me whilst I get used to this!

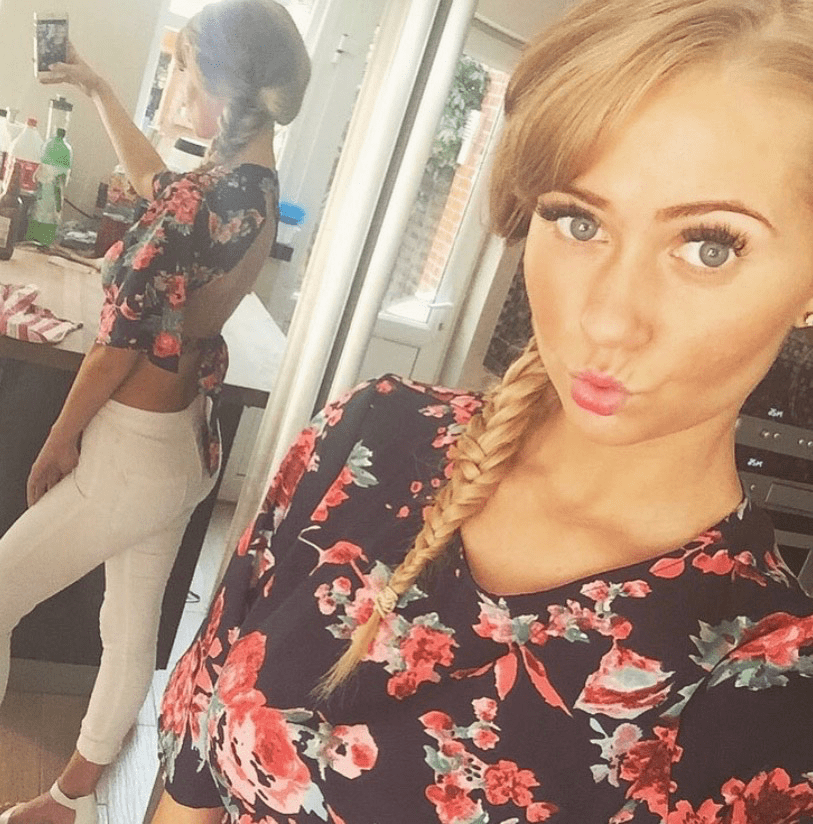
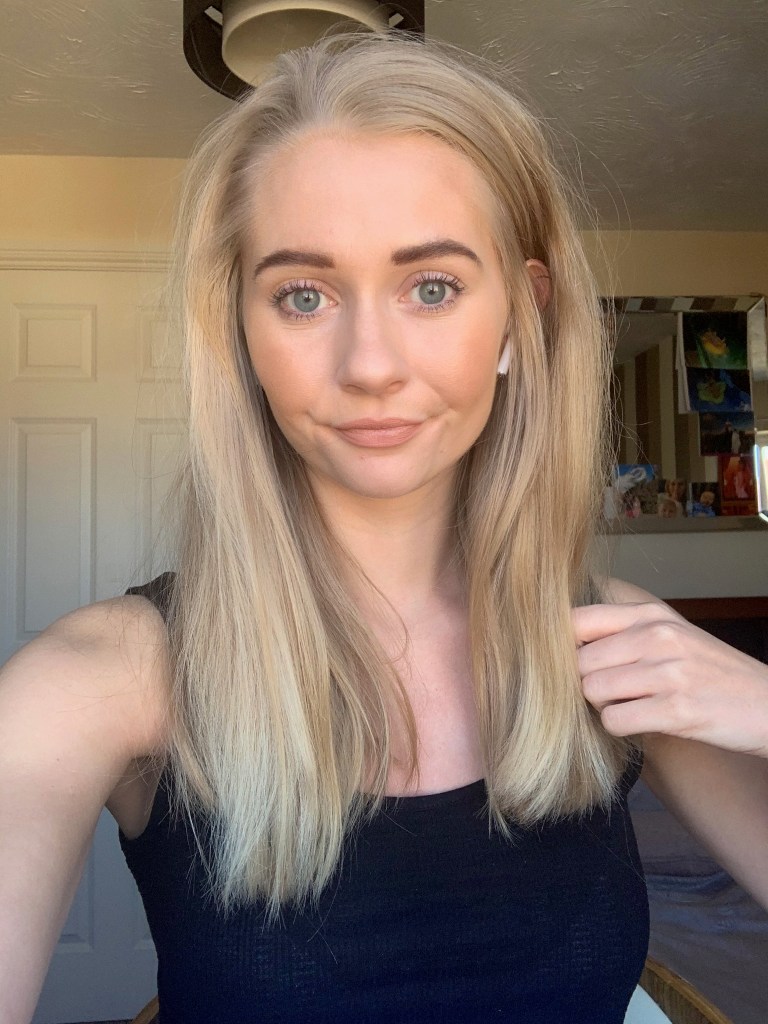
First I would like to introduce myself; my name is Emily Alice and I am a student studying criminology! Yes I know, fashion and crime are very different but I do love the latest trends (on the side) and am constantly scrolling through ASOS (my fave) for new clothes and getting new styles from fashion influencers myself! So why not start my own?

I am not a fashion influencer, nor the trendiest person ever, but everyone has their own style, and I have been personally told by my fellow uni friends that they always love my clothes and asking where there from.

Everyone is unique in their own way, and I hope some of my posts will inspire some of the beautiful women out there! and if you like my style, then keep posted.

My posts will consist of mostly fashion but also beauty, with skin care regimes I use and makeup i adore.

(Just to say) I’m going to New York very soon! so will follow up with some styles for those cold winter days, also perfect if you’re off to New York too!

How to make chocolate tiffin

Isolation cooking

I know this post is a lot different to my usual posts, but today I have been doing some baking which I never do…. and I just thought id share it with you guys! With the current circumstances at the moment, we are trying to keep ourselves occupied, so let’s do some yummy cooking for some yummy treats or a dessert!

Ever been to costa and just love their biscuit/cakes? Yup! My favourites are the chocolate tiffins, mmmm, and I just mastered how to make them! Yes! I’m going to share with you the step by step process on how to make chocolate tiffins, it is super duper easy and takes minimal times, and guess what? you involves NO baking, this is a non-bake recipe!! Very easy, if you’re lucky enough to grab some ingredients, why not give it a try? Take some to work, drop some to your friends/family or eat them for yourselves as a snack or dessert.

Ingredients

For bottom coat

  • 125g of unsalted butter
  • 200g milk chocolate (Lindt tastes better)
  • Malteasters
  • 2 Table Spoons of Golden Syrup
  • 200g of Digestive Biscuits

For top coat

  • 25g of unsalted butter
  • 200g milk chocolate
  • Malteasers
  • 1 Table Spoon of Golden Syrup

Recipe

(1) Place a little water in a pot and heat, not too high on about ‘2’ on the cooker.
(2) Place a cooking bowl on top of the pan
(3) Place 125 of unsalted butter in the bowl on top of the pan and 200g of milk chocolate

(4) Pour in 2 tablespoons go golden syrup

(5) Let heat and melt until looks something like this. Or until soft and theres no lumps left!

(6) In the mean time, get 200g of digestive biscuits, and some malteasers and place in a freezer bag or a sandwich bag, and crush with a rolling pin until they are crumbs. Its out if theres some lumps!

(7) Take melted chocolate off the hob and add the digestive and malteaser crumbs to the melted chocolate and mix together.

(8) Line a baking tray with some baking tray paper, and pour in the mix, evening it out as so.

(9) Then its time to do the top layer, so leave this on the side for a bit

(10) Repeat the same process as the first steps

(11) Add 25g of unsalted butter, 200g of milk chocolate, 1 table spoon of golden syrup and heat as so like before to melt.

(12) Once melted, pour on top of the other mix in the baking tray and even out again like before.

(13) Place the remainder of the malteasers, splodging them into the mix.

(14) Place some cling film on top, and put in the fridge for 2 hours for it to set. In this mean time, have dinner, relax, watch tv!

(15) After two hours, take out and cut into pieces.

(16) Enjoy!

How to do a fishtail

Hey beauties, I wanted to show some of you’s how to do a fish tail plait. It is soooo easy, but some people think its really tricky or don’t know how to do it. I learnt back when I was a teenager and all I did was watched a youtube video and mastered it there and then, it so simple

Because I’m so busy at the moment, I would love to sit down and talk through it and do a really nice plait but I don’t have time as I’m working more so I’ve created a rough video! And I’m going to do some baking today which I will show you what I’m making in my next post, as its really simple for you bakers out there!

I just wanted to say, I used to have really long hair, heres a picture of the fishtail plaits I used to do, (I know this is a really posey photo, I was about 19 when I took this) but its a nice tight fish tail.

My hair is shorter now, I cut it got at Christmas so its harder to have a perfect even fish tail plait as you’ll have bits coming out and its harder to get it thinner at the bottom. But anyways here goes 🙂

(1) Start off with straight hair, I know my hair is not perfectly straight, but I never straighten my hair anyway, but just don’t have it curly as its easier.
(2) Divide the hair into two parts, like you are doing a normal plait
(3) You want to grab a bit of hair from one side, take it to the middle (between the two sides), then grab another bit of hair from the other side, and take it to the opposite side whilst at the same time grabbing the bit in the middle underneath to that bits opposite side and so on. So basically you grab bits of hair from one side to the other side as you go down.

I know this doesn’t help to read it like that, thats why I have produced a video on Vimeo for you too watch, sorry its not that good but you can have a little see how I do it! Link is below 🙂

https://vimeo.com/manage/409497938/general

Design a site like this with WordPress.com
Get started